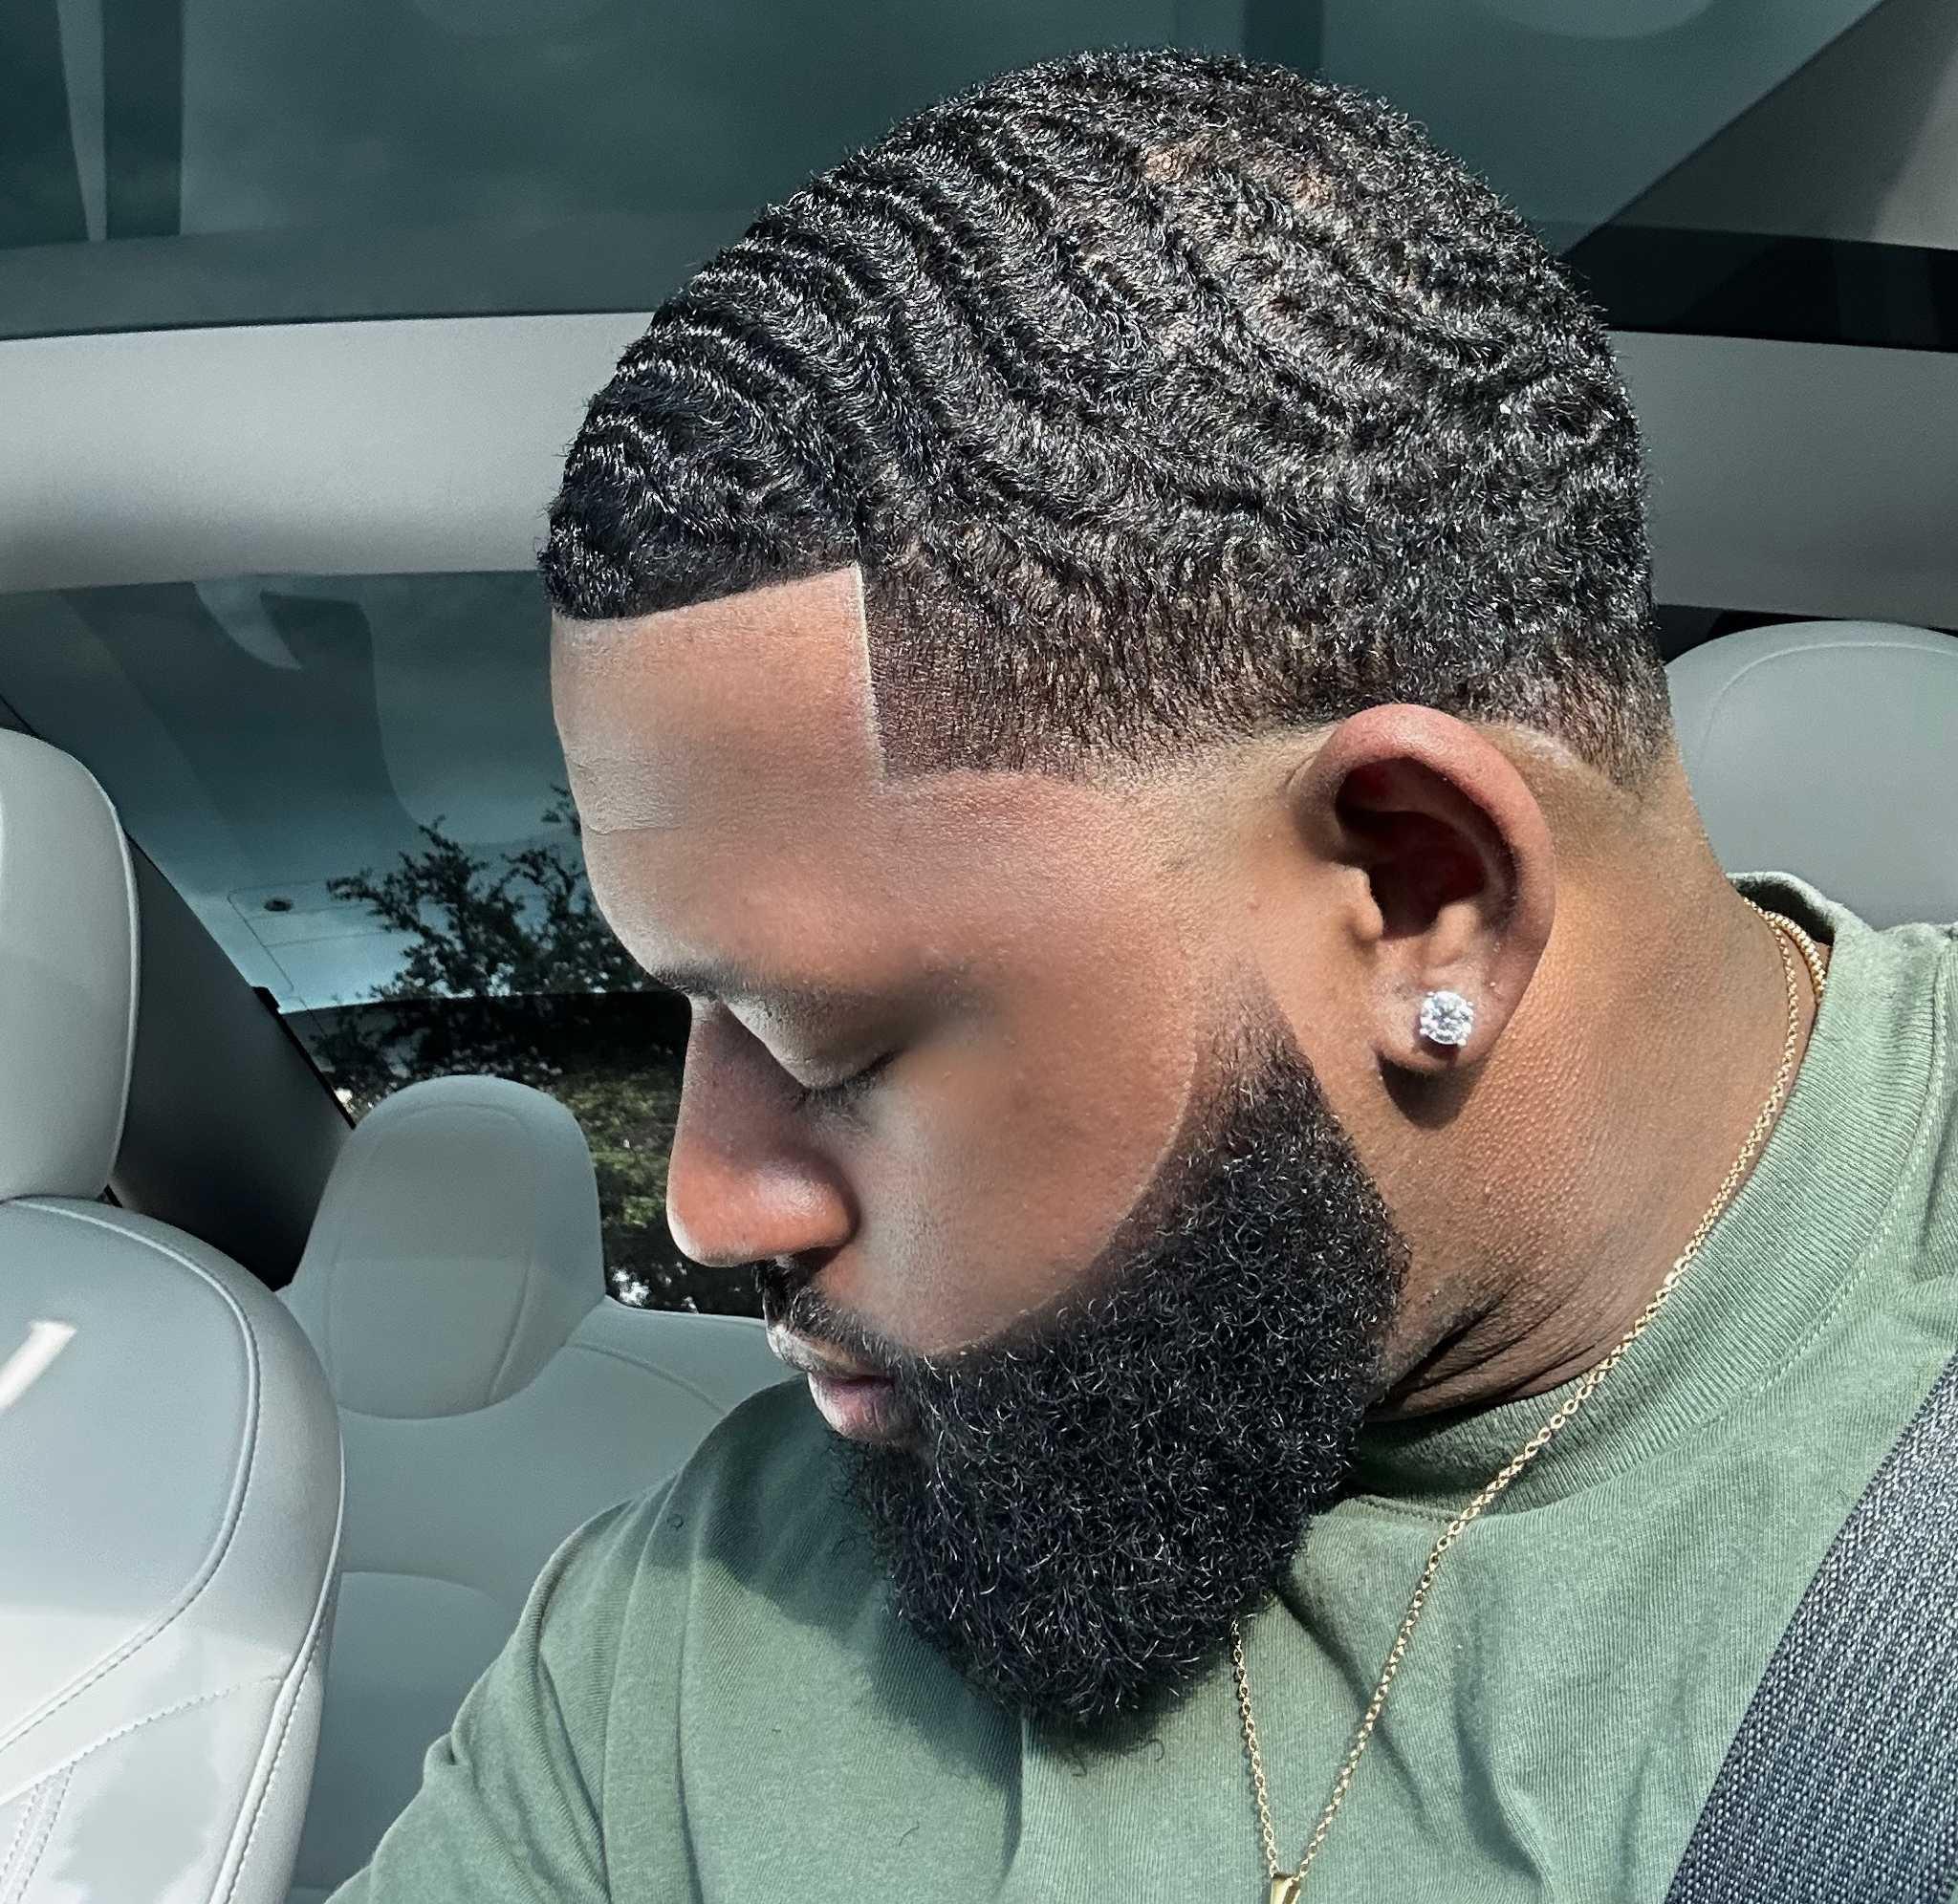
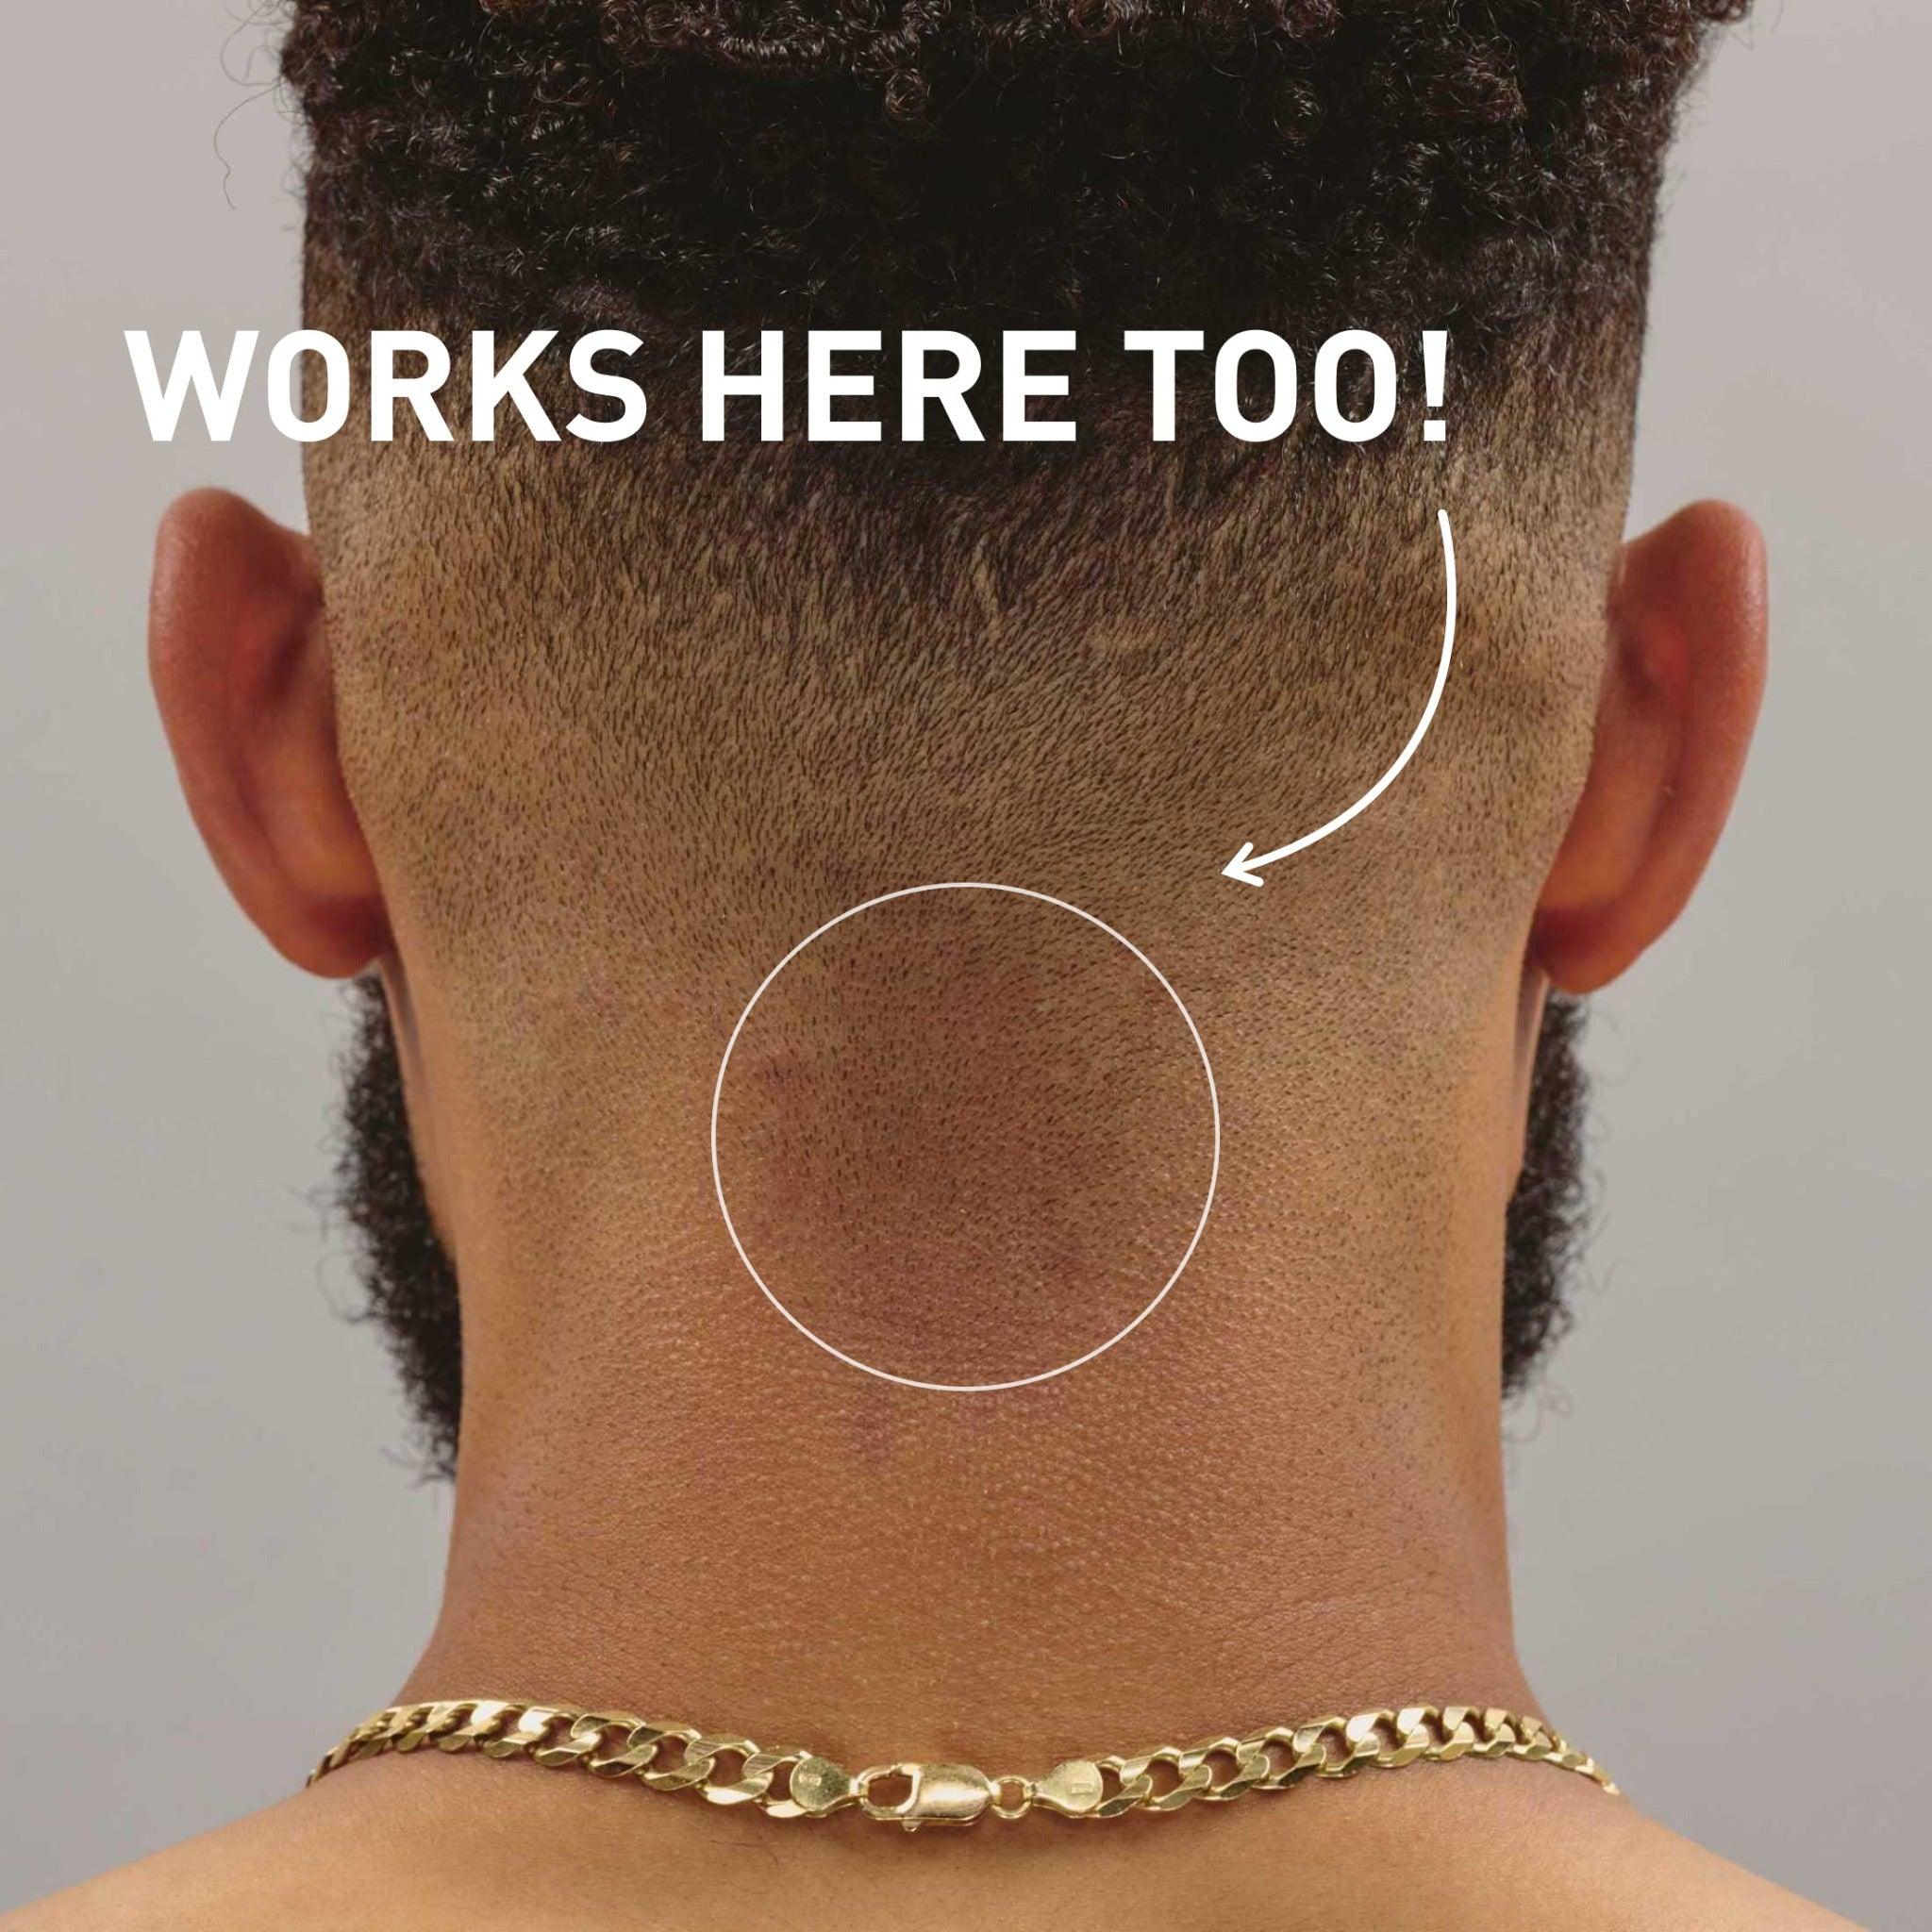
If you’ve been waving for at least a month, you should see waves somewhere. They won’t be the best your waves could be, but it’ll be a start. You might even start to notice that some areas are more "waved up" than other areas. That’s what we’ll be discussing this week, how to identify and attack your problem areas.
Texture
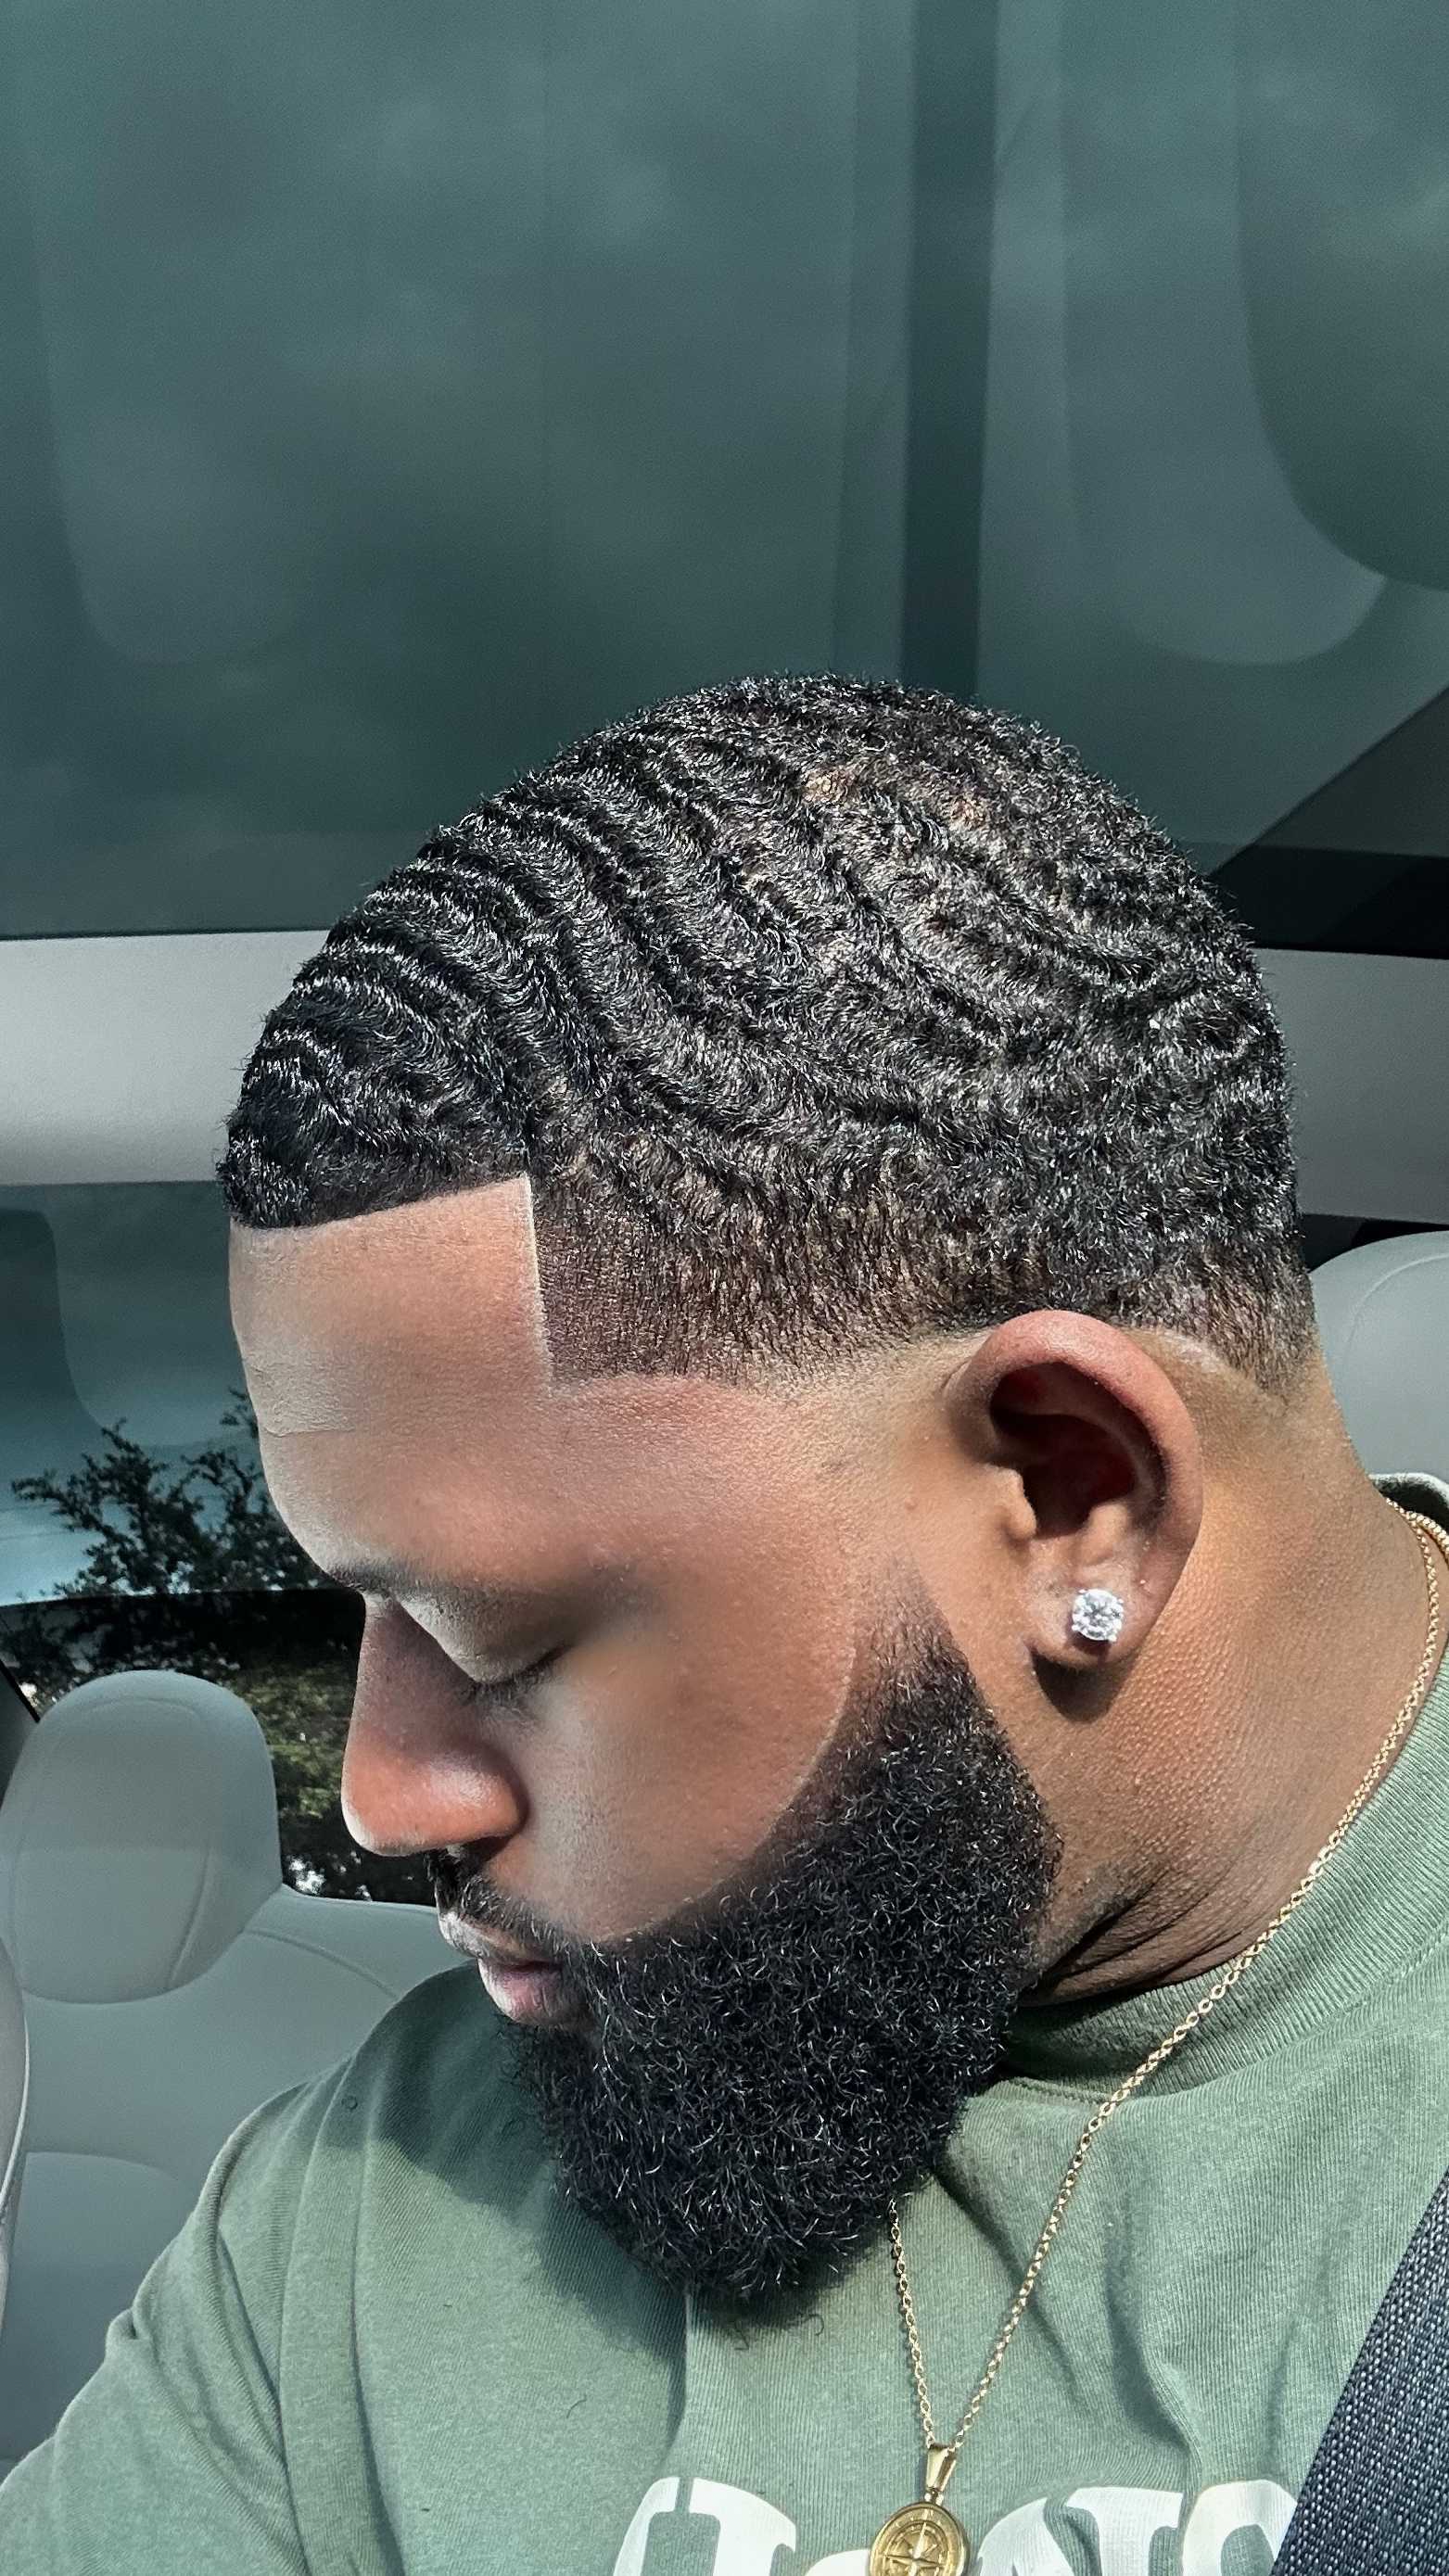
This is probably the easiest indicator to spot a problem area because no matter what texture you have, you should be able to see the area that’s not wavy. This topic will be revisited often based on the simple fact that everyone’s hair is not the same. A different approach has to be made based on you hair texture, and that could change over time from person to person. Understanding your texture is one of the first steps in making the wave process easy and fun. There was an article that dealt with texture last week so make sure you check it out when you get a chance.
Angles
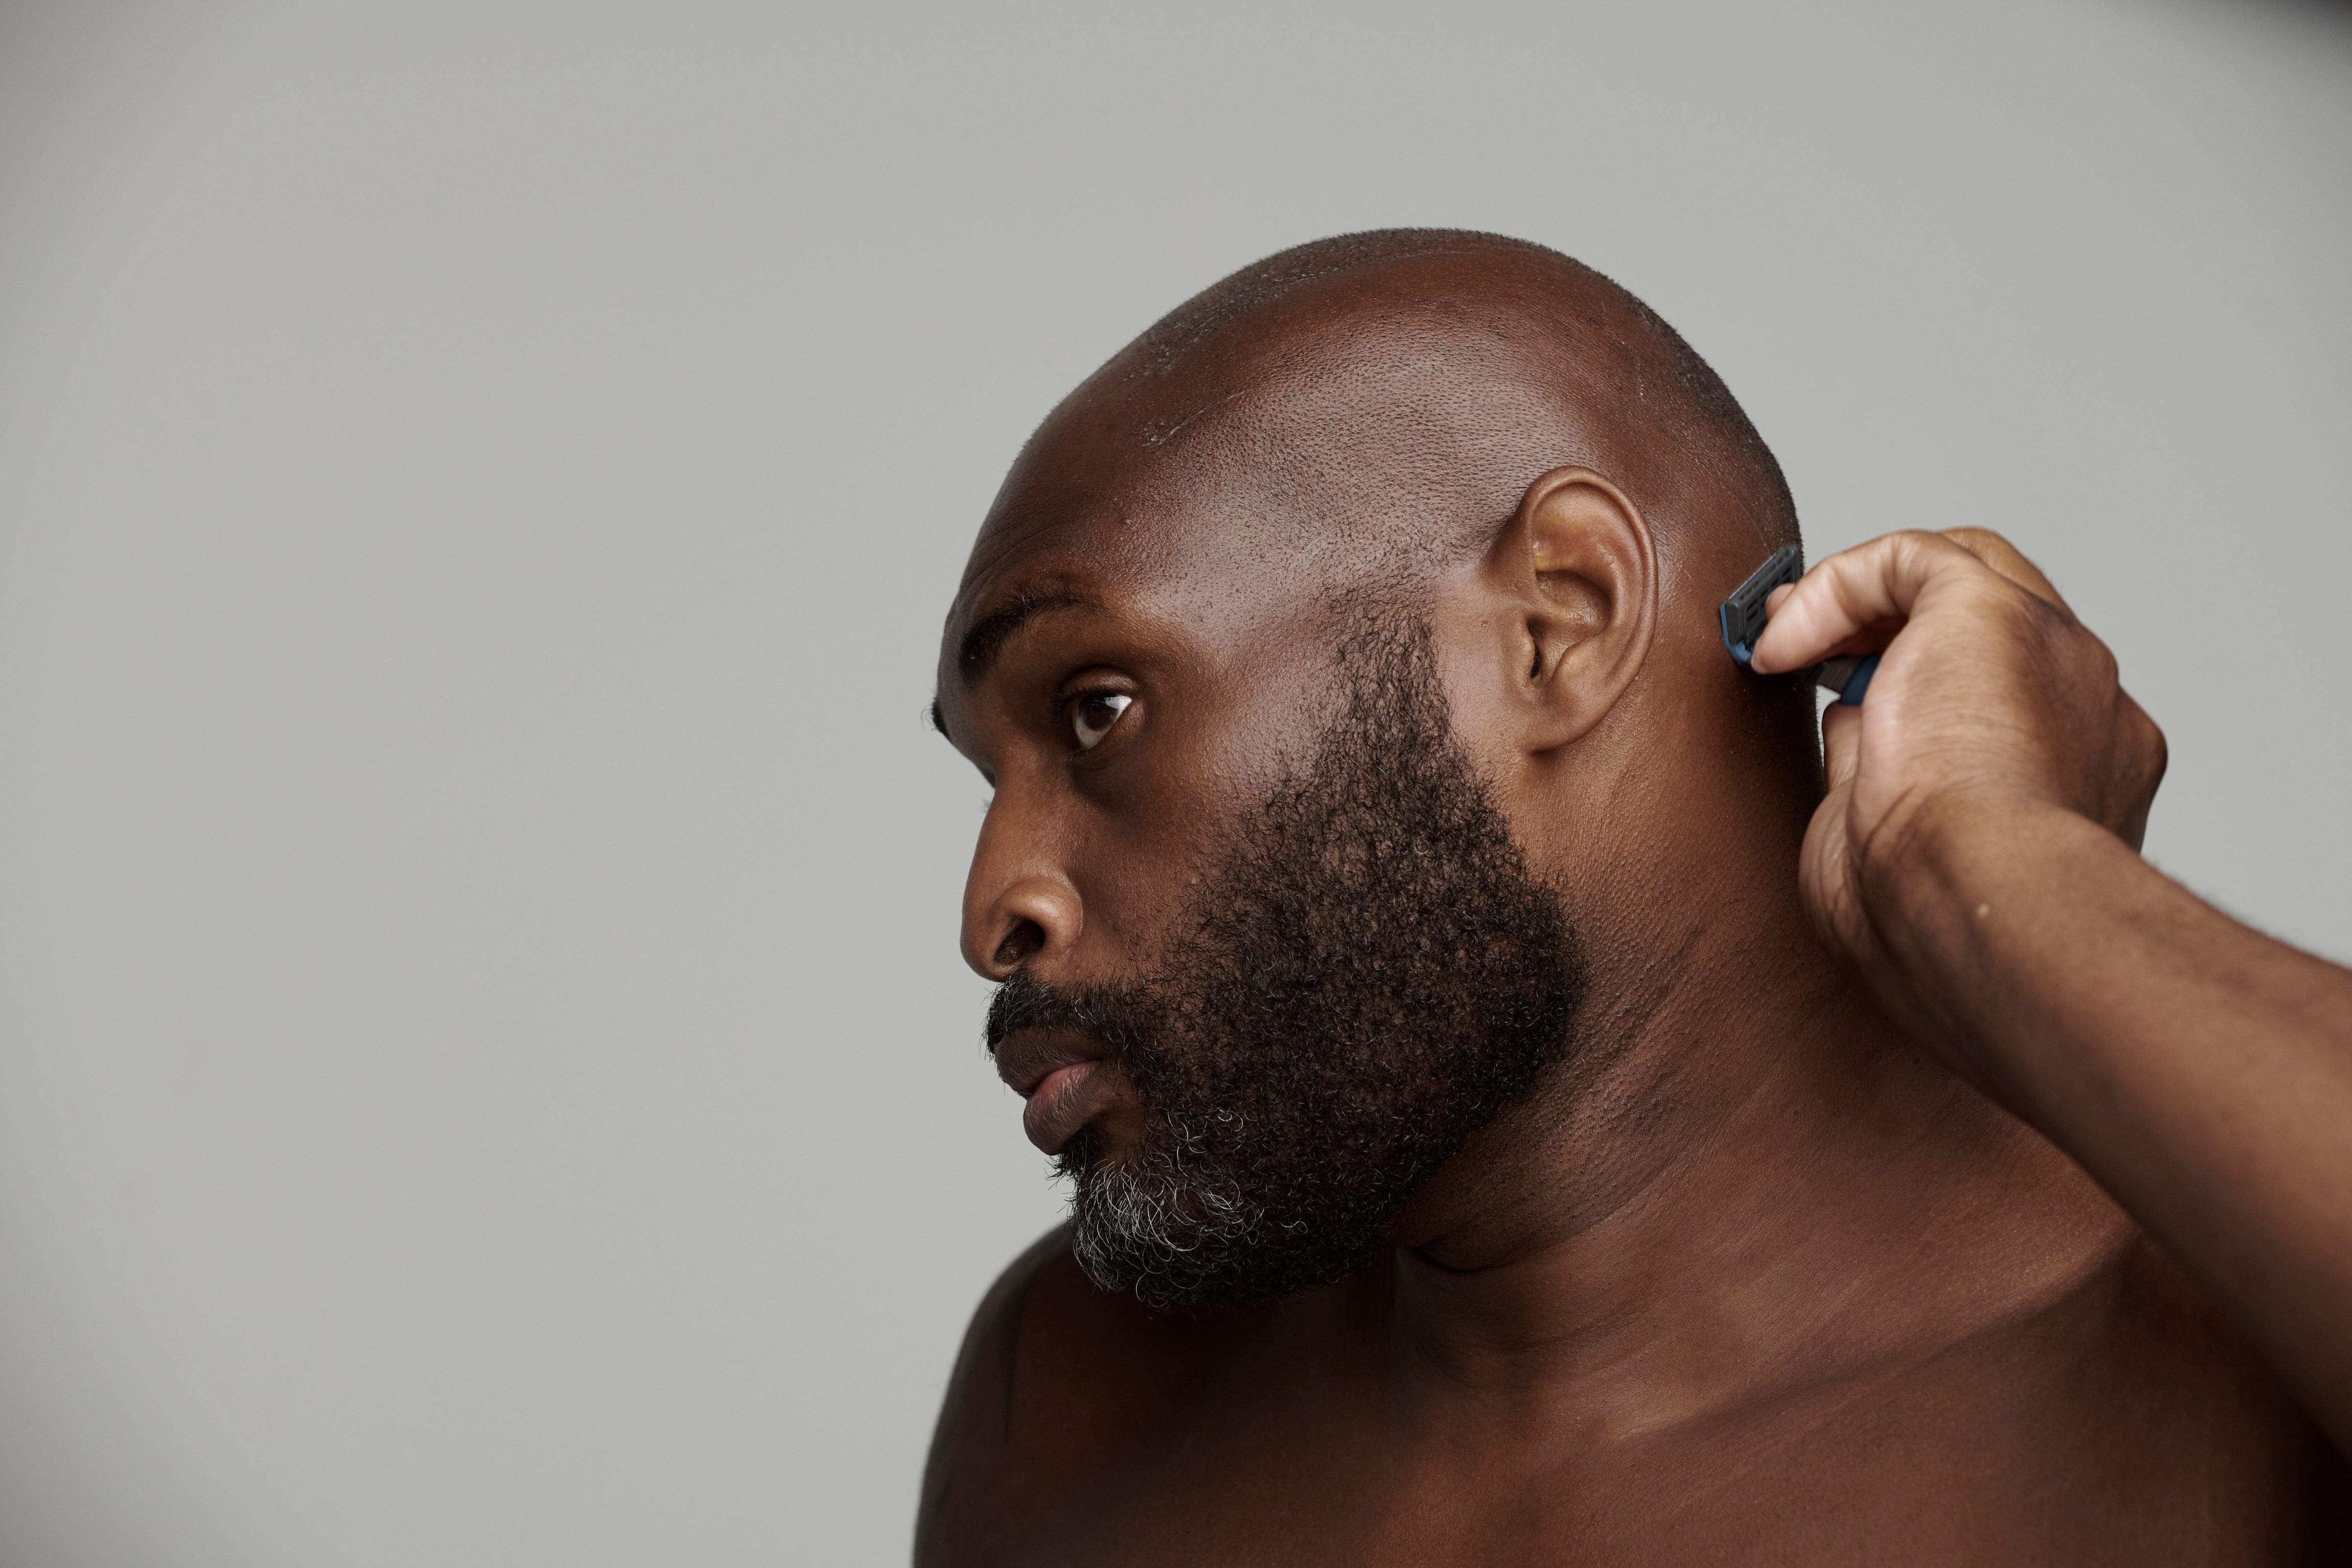
How you hold your brush when brushing can either increase or decrease your accuracy when fixing a problem area. The images below show two different angles for the same area. One angle the brush is held horizontally and the other angle the brush is held vertically. Some areas can be attacked better brushing vertically or horizontally. Figure out your comfort level with your angles and go from there.

Once you get to the point where you understand your texture and angles, the wave process will become much easier. Having a better understanding of your texture will help in deciding what products are best for your hair. Knowing the best angles for you can also help when going to the barbershop and communicating with your barber how you want your haircut, the two work hand and hand.

Hope these tips help you throughout the wave process. If you want to show us your progress as always you can hit us up on Instagram or post your waves using the hash tag #WaverWednesdays.
Until next week,
Kado, Elite Spins


